Quick start
Your first on-brand ad creative is five minutes away. This guide walks you through creating a brand, defining your brand DNA, researching competitors in the Ad Repository, and remixing your first creative.
Step 1: Create an account
Go to app.adkumo.com and sign up with your email address. No credit card required for the free tier.
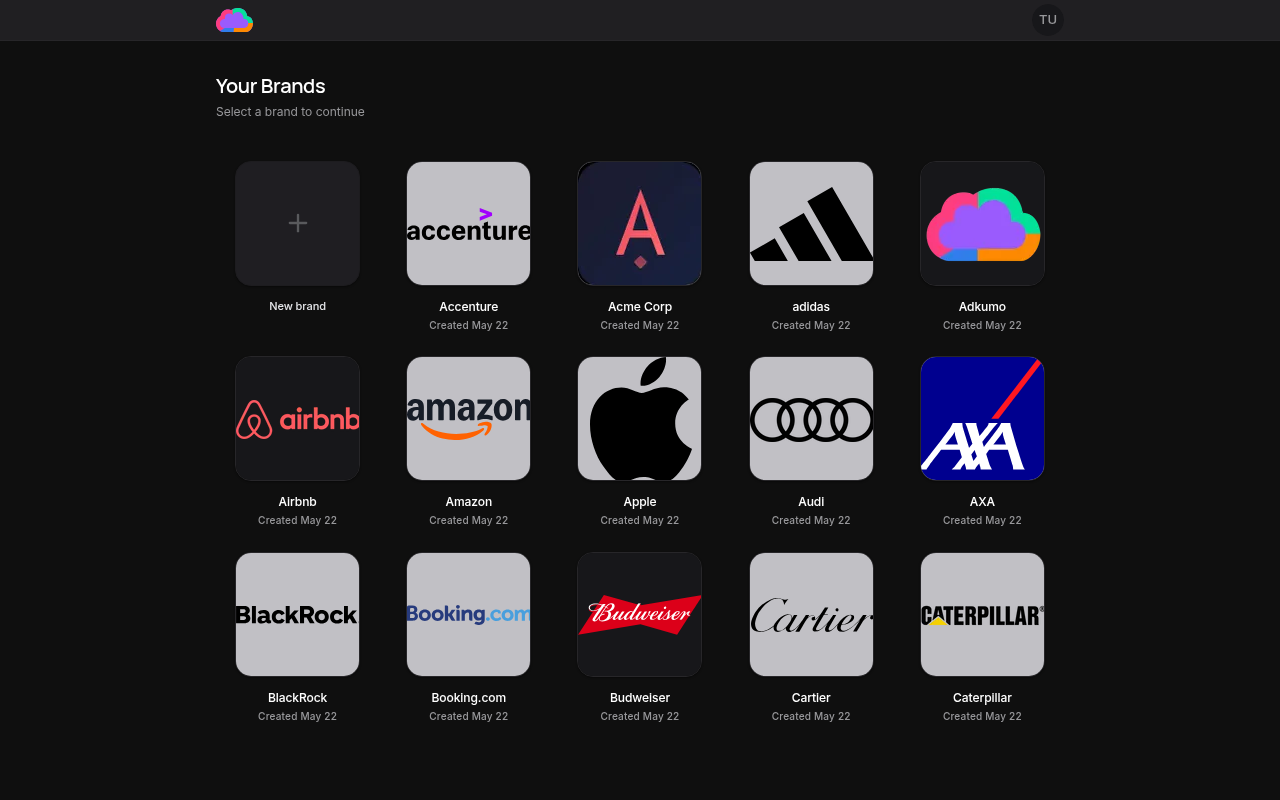
Step 2: Create your first brand
Once signed in, you'll land on the My Brands page. Click New brand and enter your brand name and website URL. Adkumo scrapes your site to extract your colors, logo, and brand voice automatically.
Point Adkumo at a page that prominently features your logo and brand colors. Your homepage usually works perfectly.
Step 3: Define your brand DNA
After the scrape finishes, review the generated brand kit. This is the DNA every future creative will inherit.
- Open your brand from the dashboard
- Navigate to Brand Kit in the sidebar
- Confirm your brand colors, logos, and fonts on the Image tab
- Upload a higher-resolution logo if needed
- Review the extracted brand voice on the Text tab, and your brand story and audience on the Brand Profile tab
The more dialed-in your brand DNA is now, the more on-brand every generation will be later.
Step 4: Research the market in the Ad Repository
Open Ad Repository from the sidebar. Start in the Explore tab to browse a live library of real ads running in the wild, or switch to the Competitors tab to track specific rival brands and monitor what they're shipping.
Use the filters to narrow by ad platform, date, status, or safety signal. Sort by Top performing to surface ads with proven market traction — see Ad Quality Score for how the ranking works.
Found an ad that stops you scrolling? Hit quick-remix from the ad card and send it straight into the Remixer.
Step 5: Remix your first ad
Whether you quick-remixed from the repository or uploaded your own reference, the Remixer takes over. Configure aspect ratio, variation count, temperature, and an optional brand color palette, then hit Generate. Adkumo rebuilds the reference through your brand DNA.
Prefer to start from a prompt? Use Assets to generate on-brand imagery from a text description.
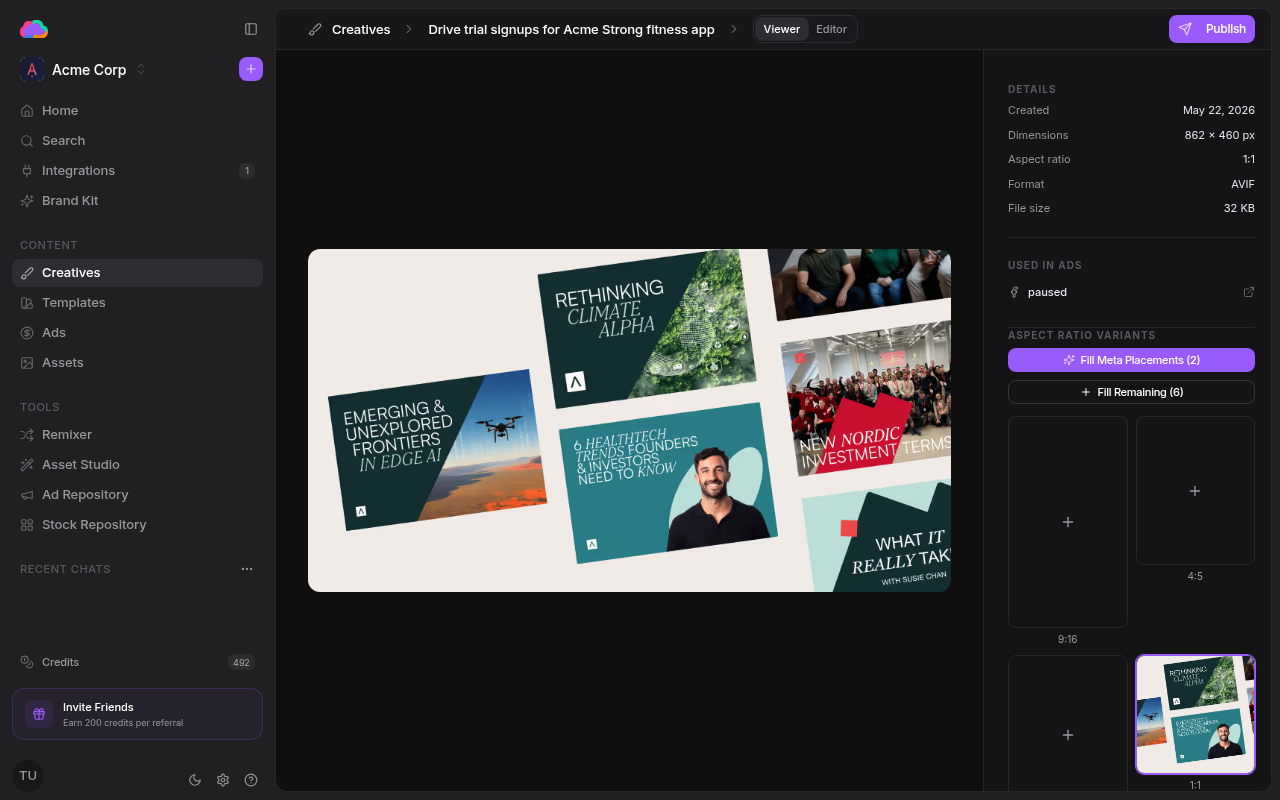
Step 6: Refine in the Creative Editor
Open any generated creative in the Creative Editor to inspect it and apply targeted edits. The editor has two tabs:
- Viewer — Read-only preview with all the creative's metadata: goal, key points, image prompt, dimensions, aspect ratio, format, file size, and which ads it's been used in.
- Editor — Image operations (Remove Background, Vectorize, Upscale 2×, Paint mask) plus an AI chat panel for describing freeform edits. Apply a result with Apply to creative.
Step 7: Ship it
When a creative is ready, use the Publish button in the Creative Editor to launch it directly to LinkedIn Ads or Meta Ads. You'll be walked through a draft — copy, targeting, assets — before the ad goes live. Once launched, track the ad on the Ads page.
If you'd rather run the creative somewhere else, export it in the aspect ratios you need and push it to whichever platform your media plan lives on.
That's it. You've shipped your first Adkumo ad creative. Next, explore managing brands to keep your brand DNA sharp as you scale.